Apr 26 2024
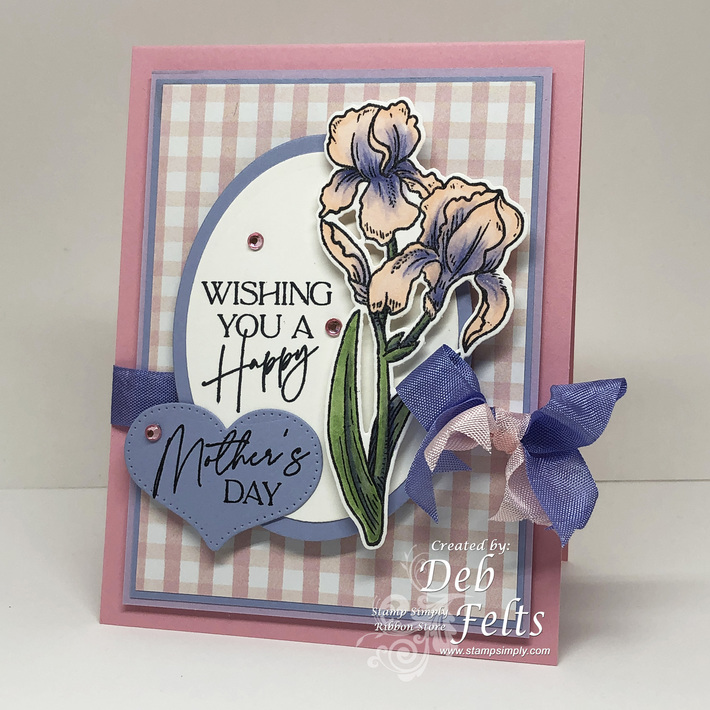
April Showers – by Deb Felts
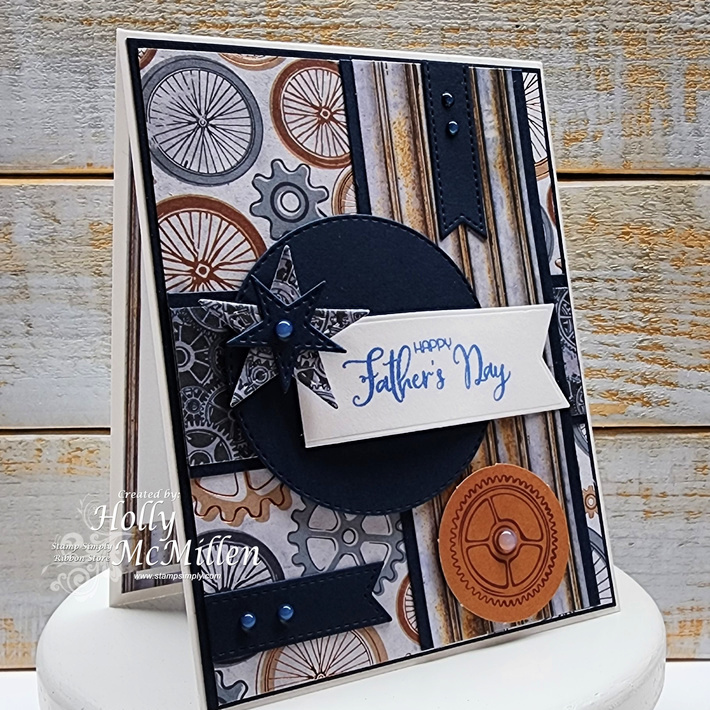
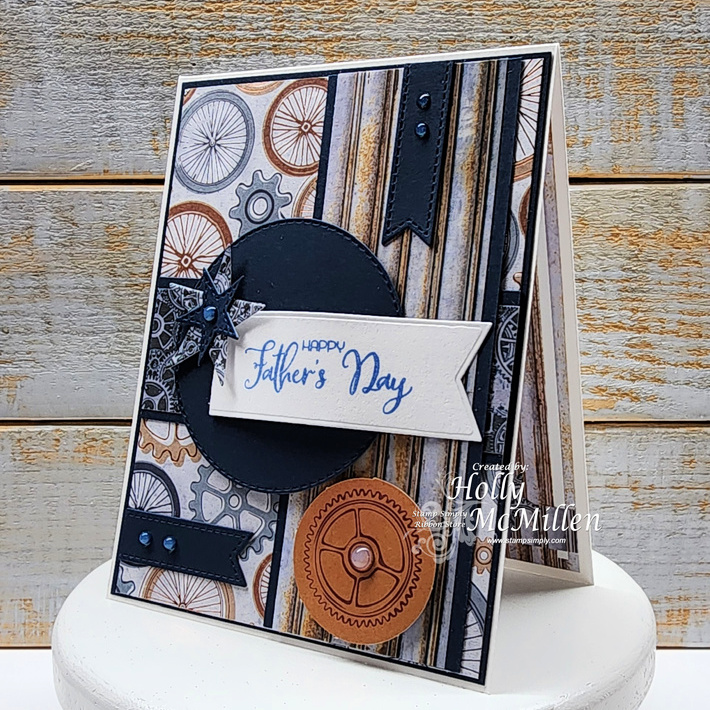
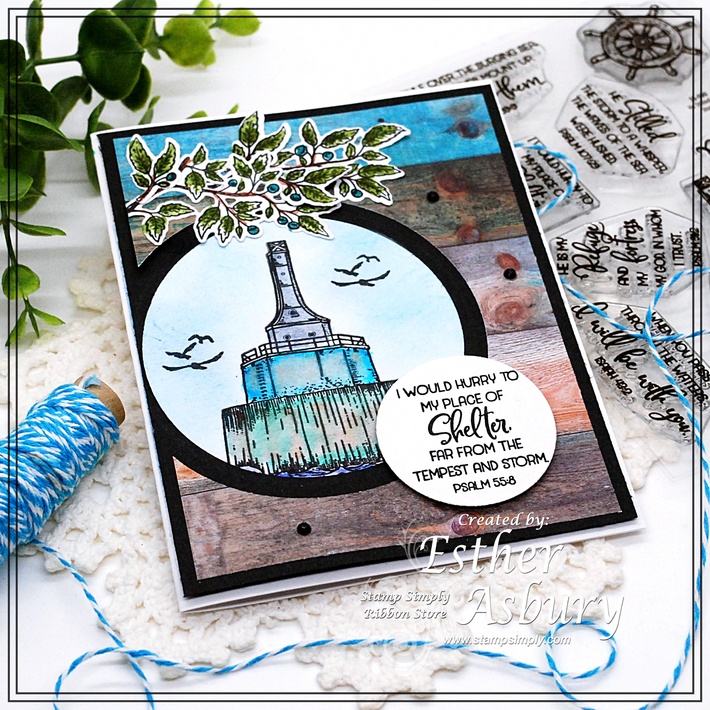
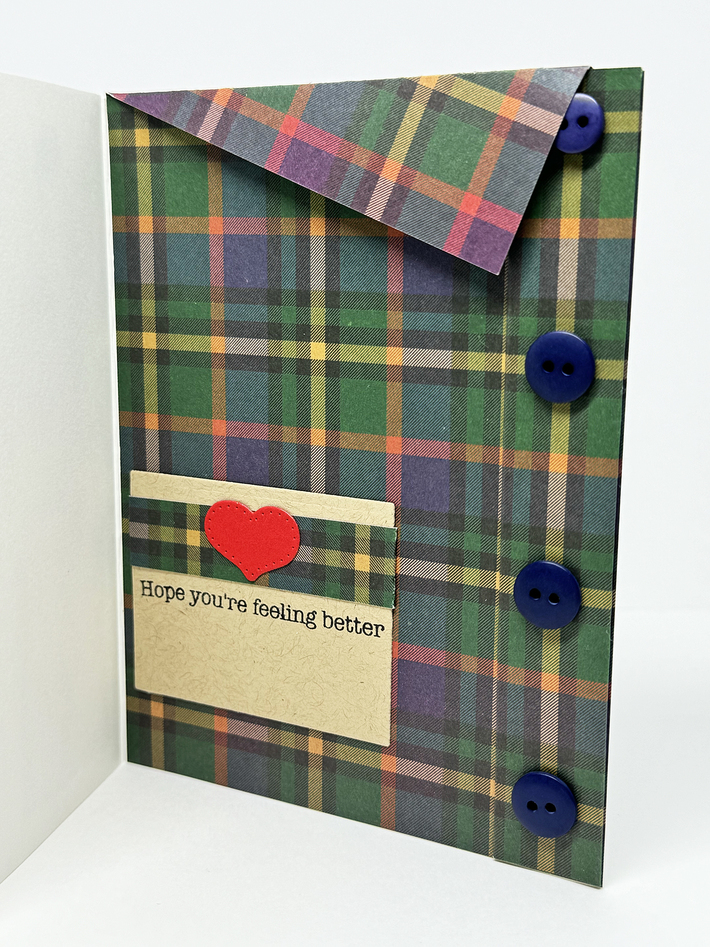
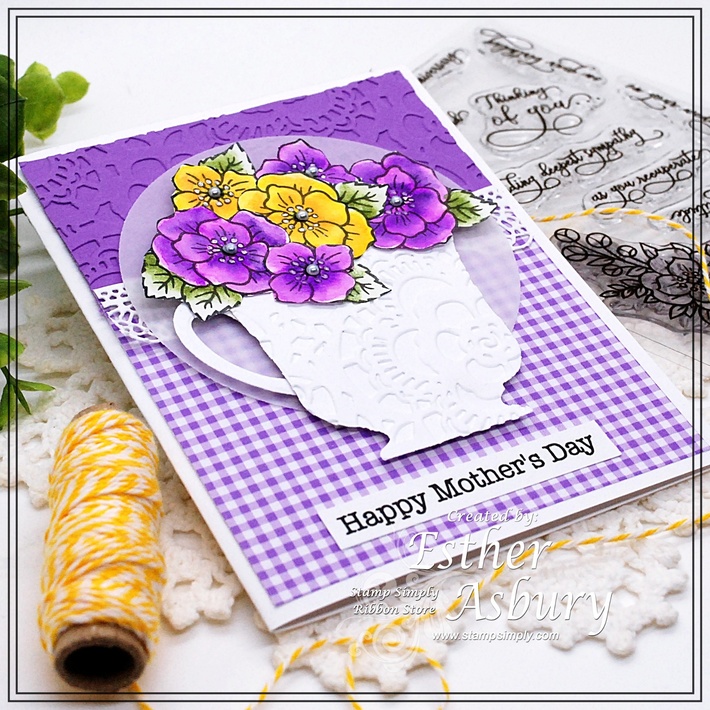
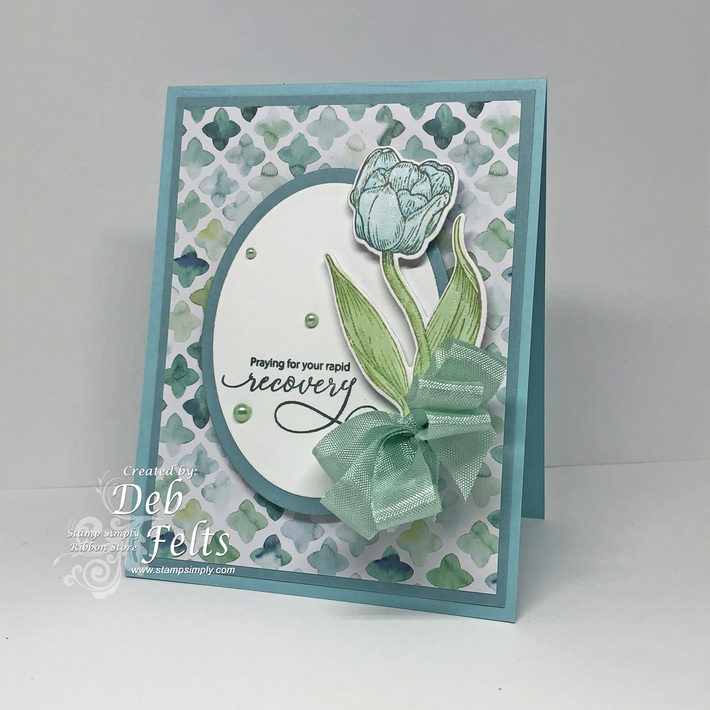
April showers bring May flowers AND belated birthday wishes. Deb needed a springtime themed card and found the perfect papers to set the stage with this spring themed pad from Echo Park. It’s a fun one and an easy make, fancied up with a big bow which I personally LOVE. If easy to mail is what you need, minus the bow this card still looks wonderful!!!
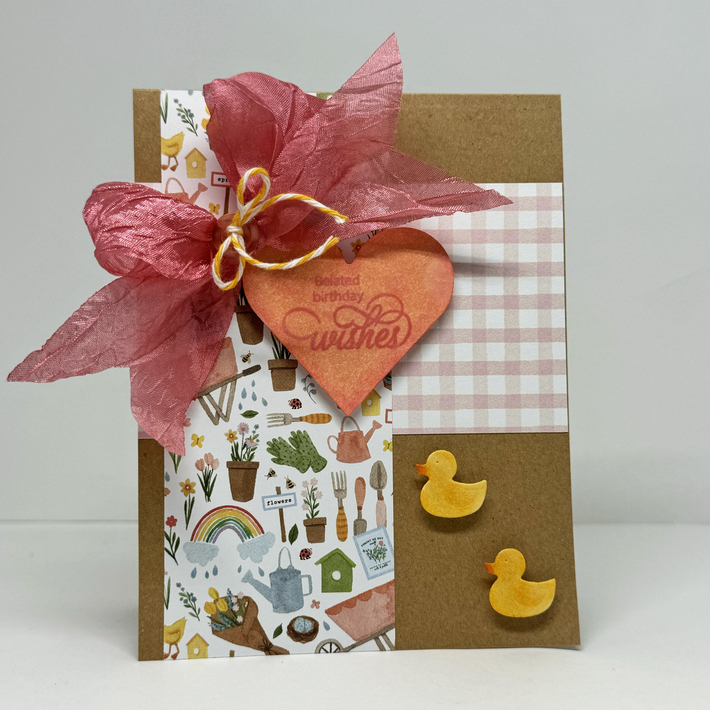
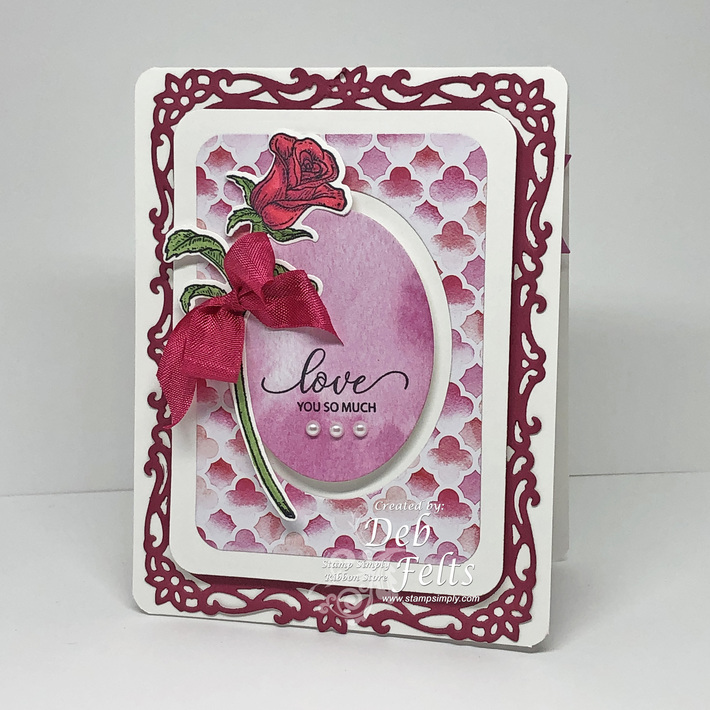
CUTE papers or what!!!
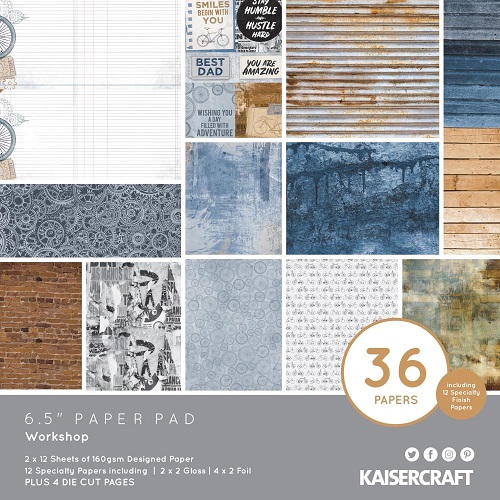
They are all from My Favorite Spring by Echo Park.
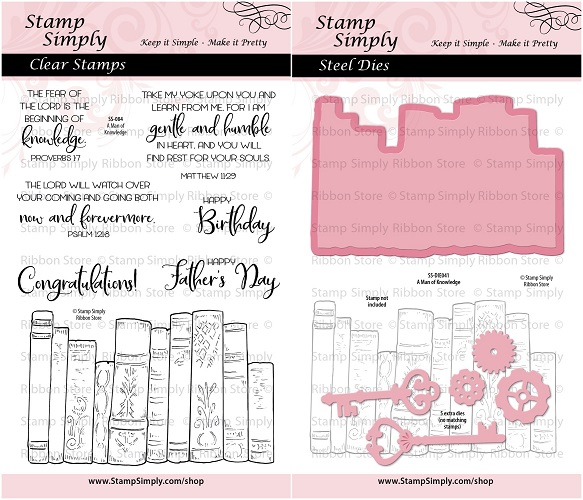
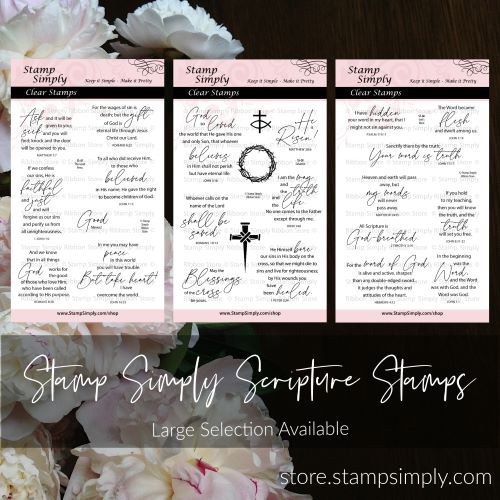
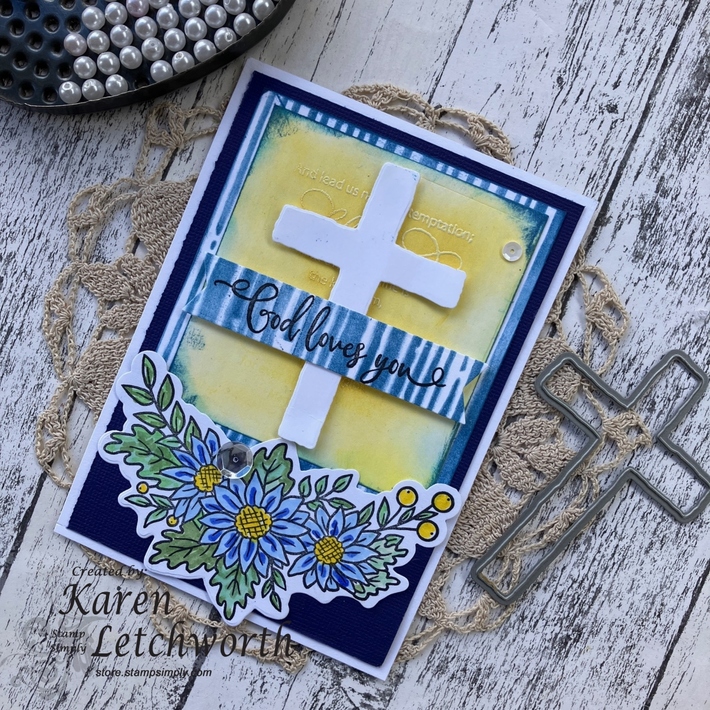
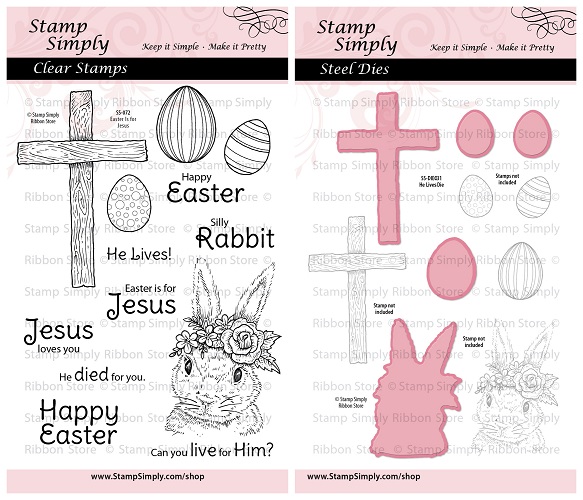
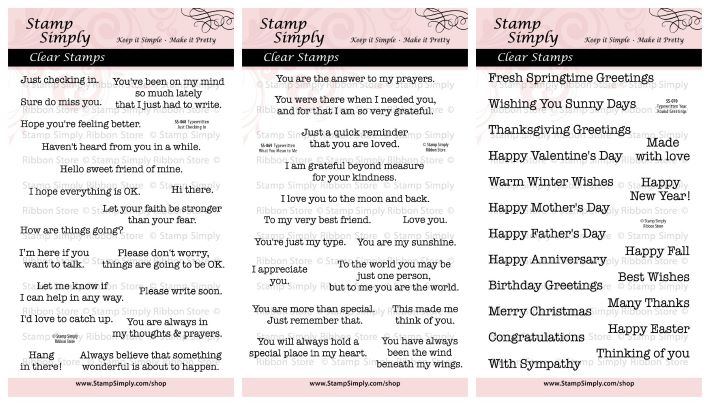
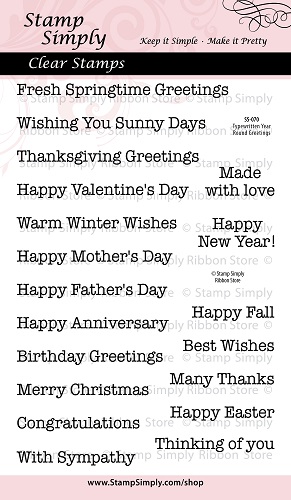
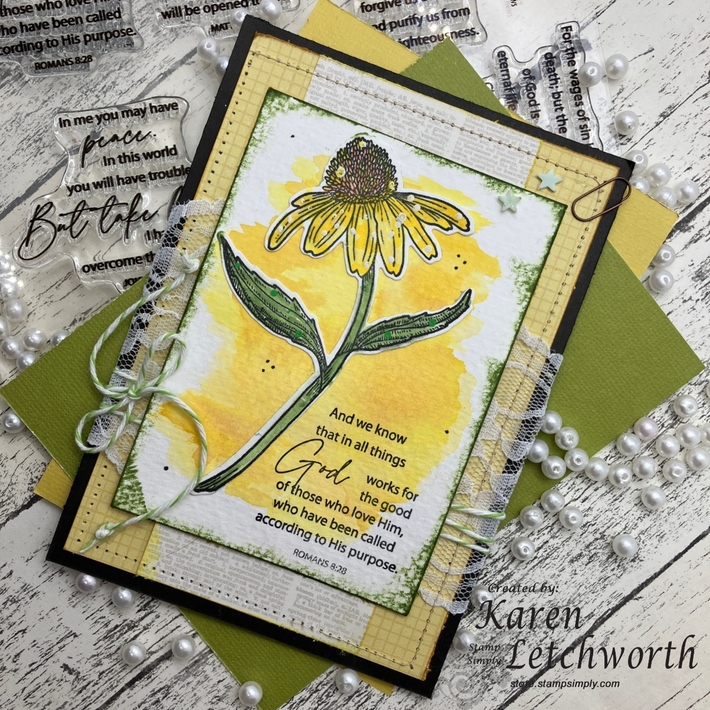
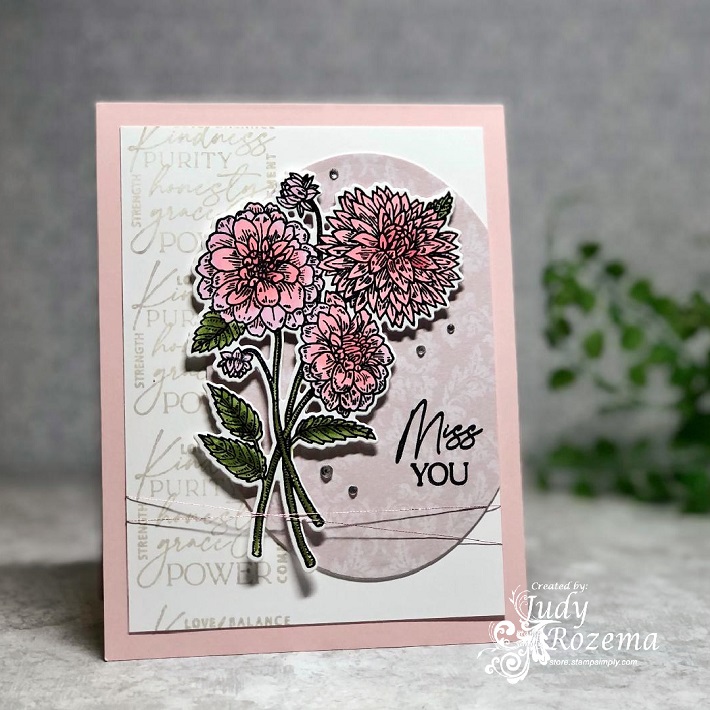
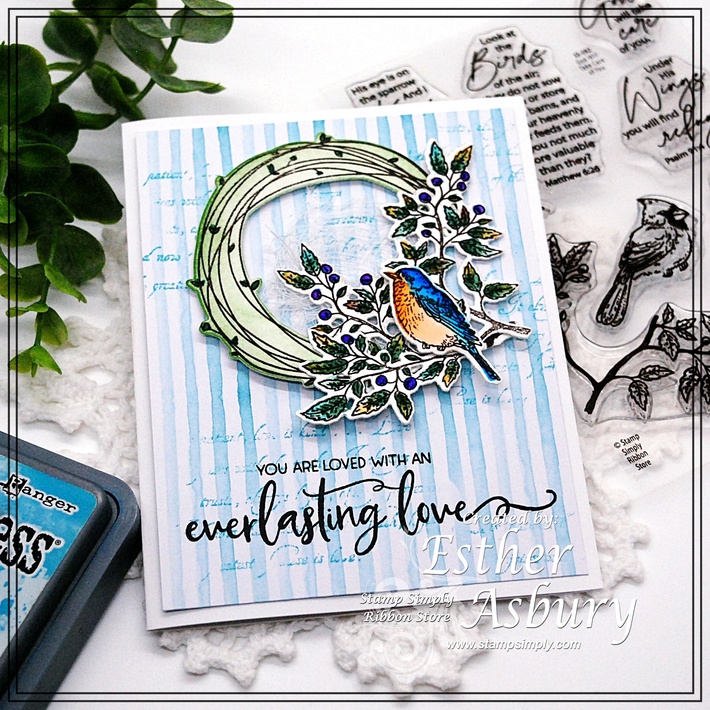
The belated birthday sentiment is from Birthday Sentiments by Stamp Simply Clear Stamps.
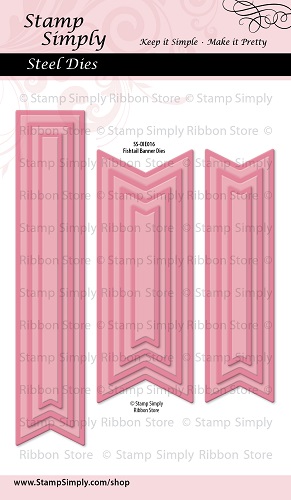
The sentiment is cut with Spellbinders Classic Hearts.
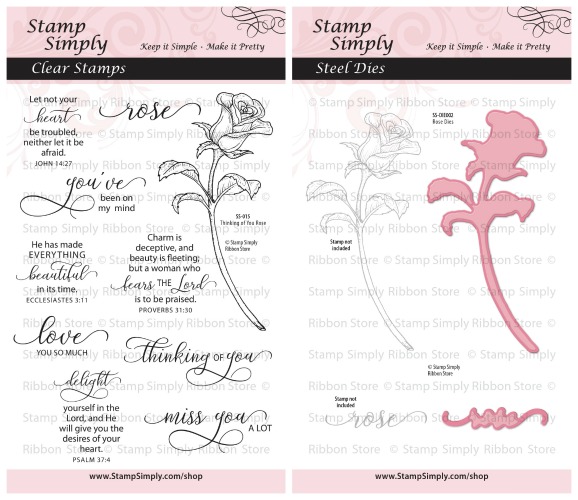
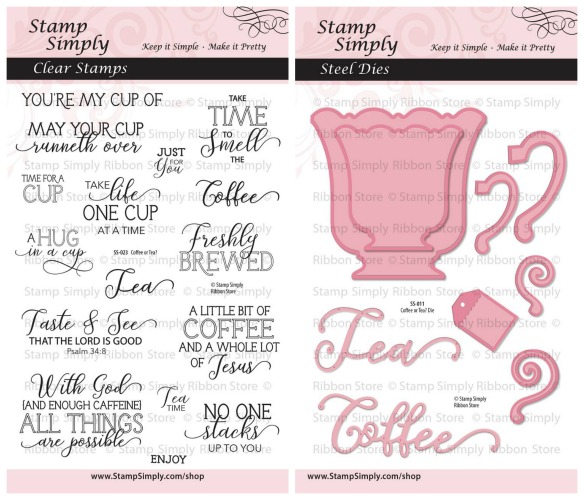
Those cute ducks are from our Welcome Baby Basics die set by Stamp Simply Clear Stamps.
The 2 ribbons used are:
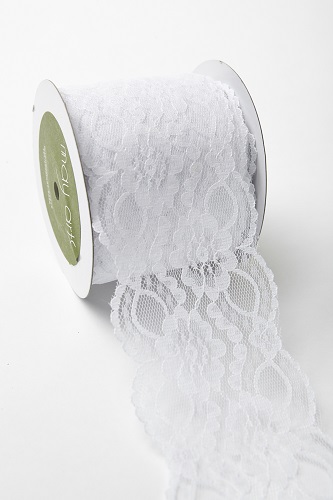
May Arts 1.5″ Silky Crushed in Rose
May Arts Baker’s Twine in Orange
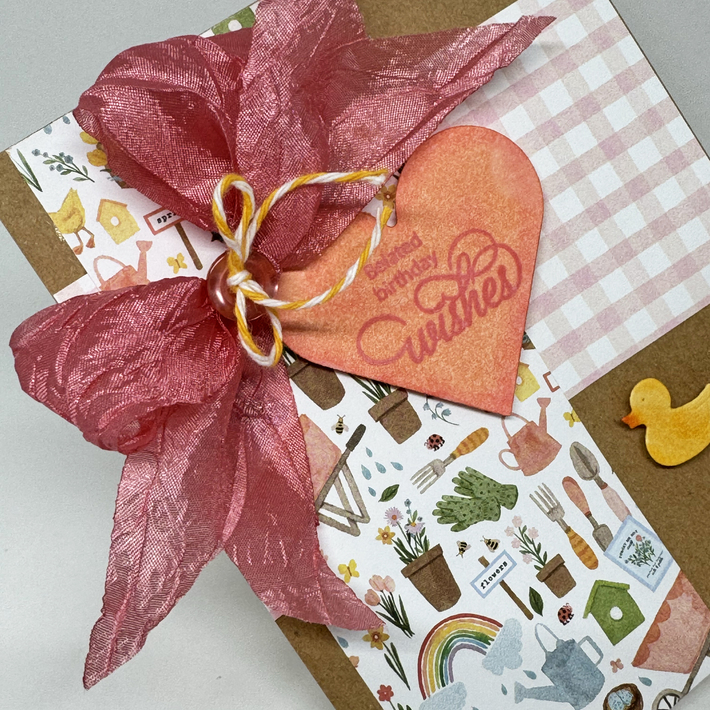
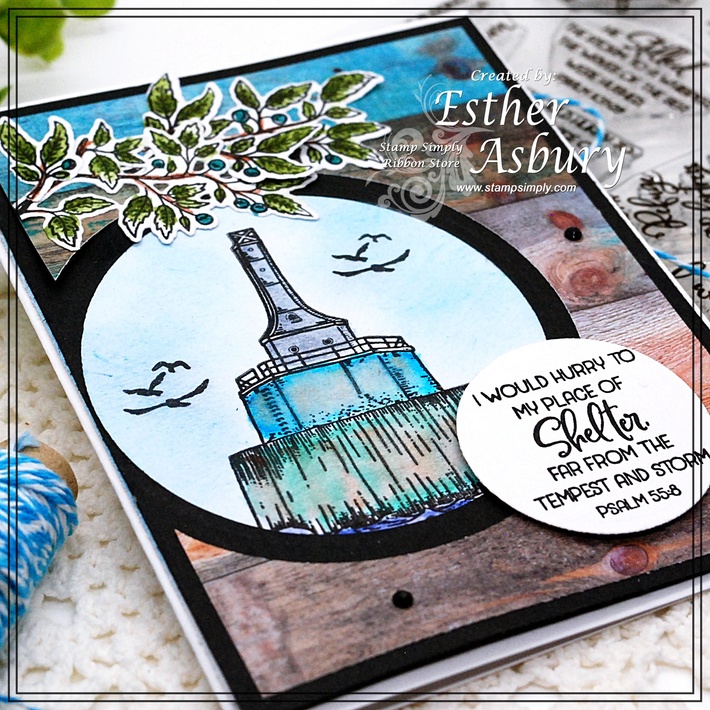
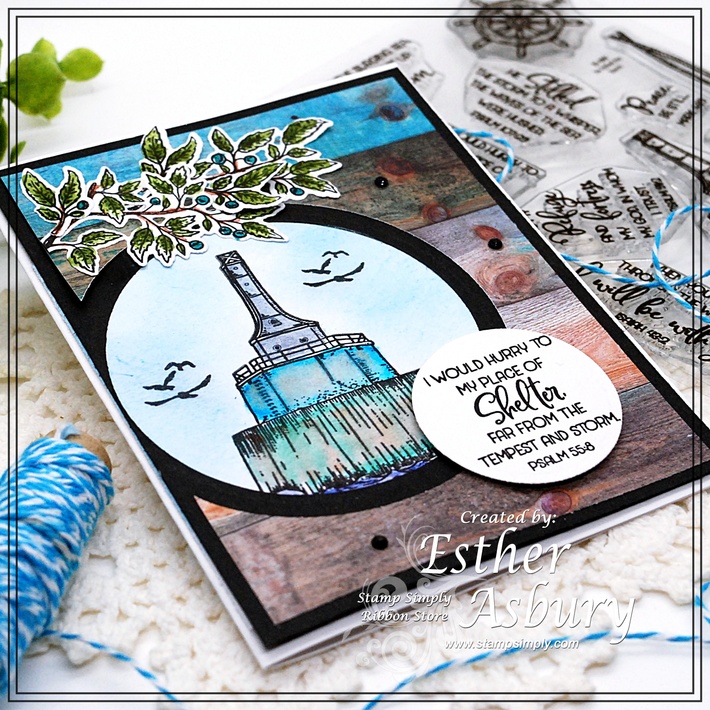
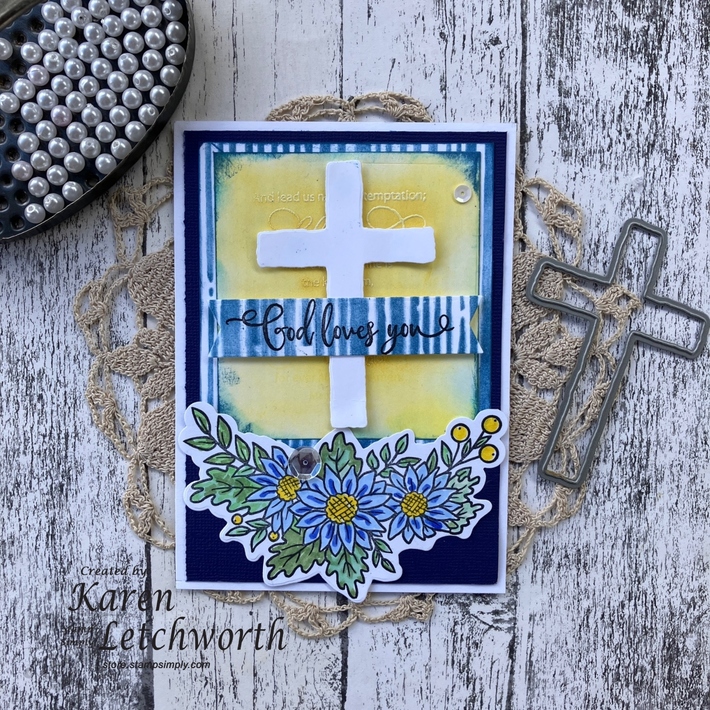
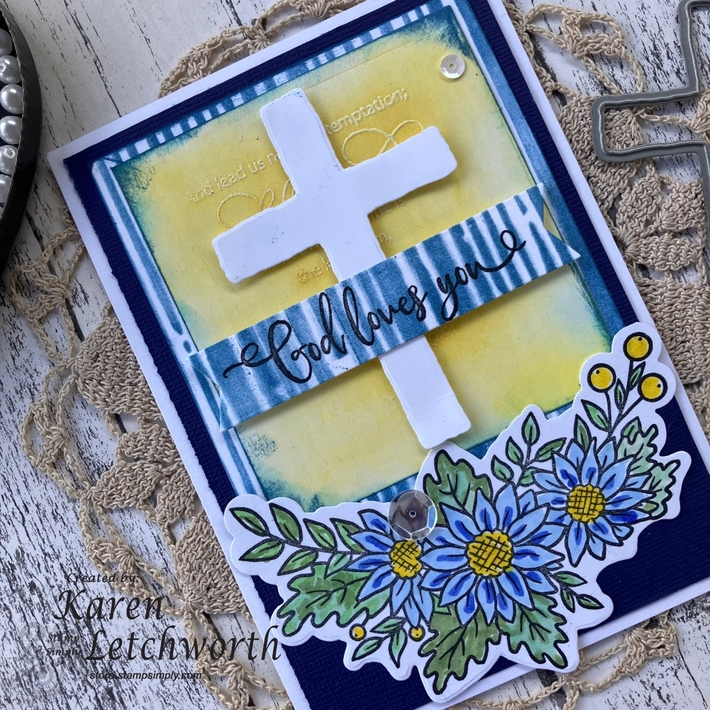
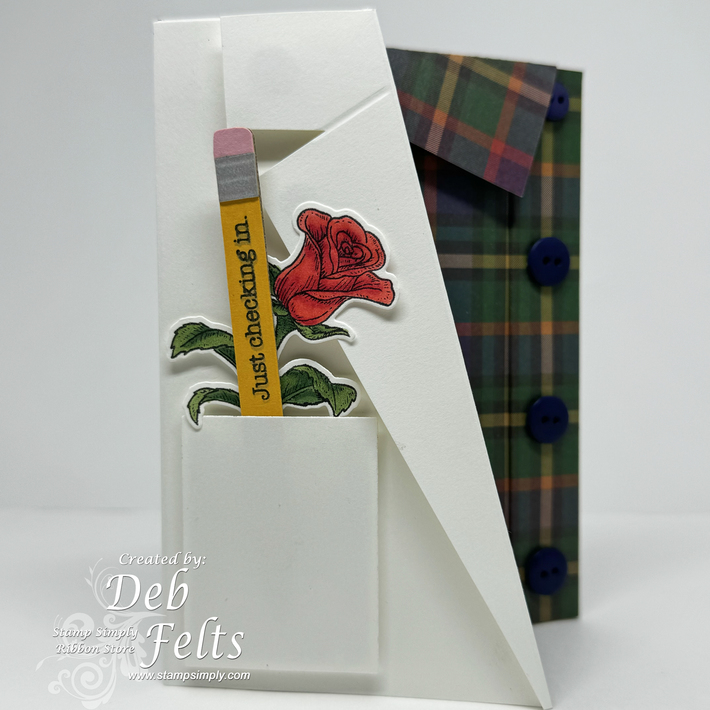
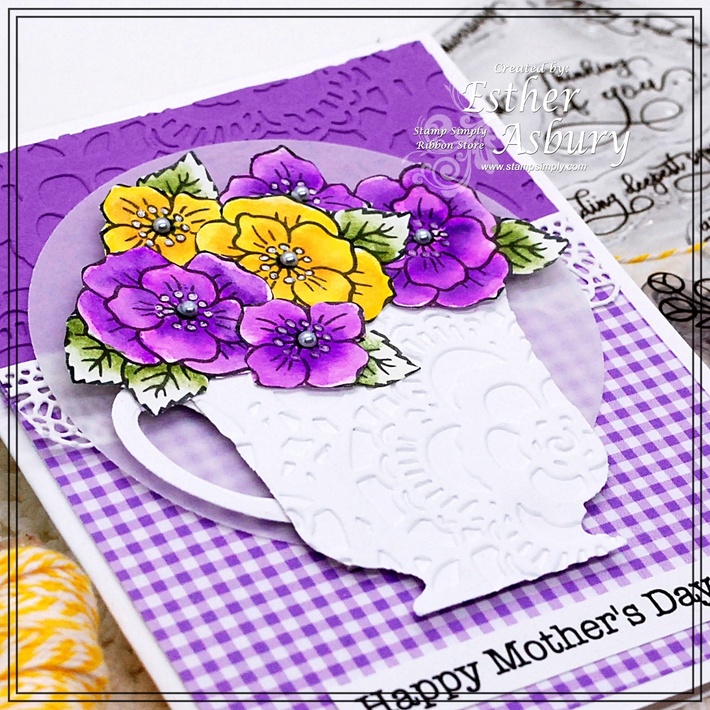
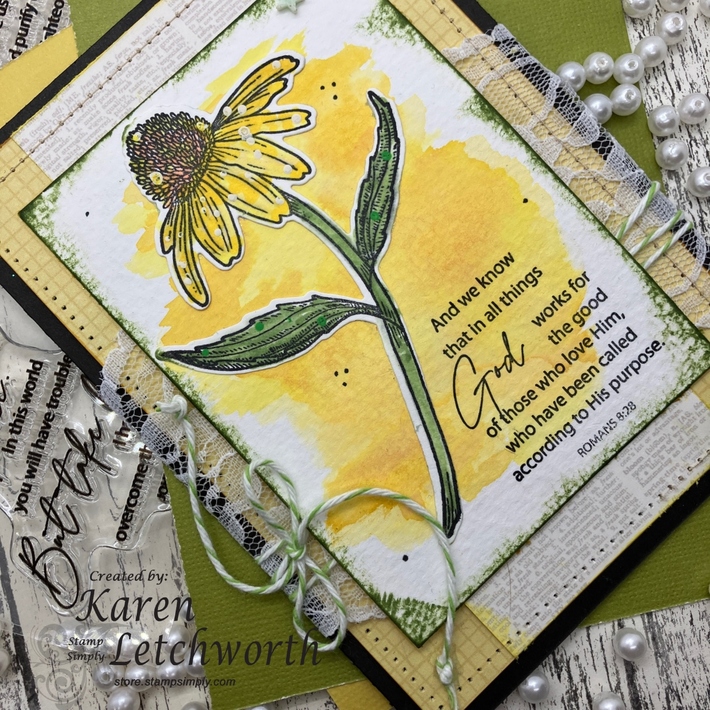
Here’s a closer look at the pretty details.
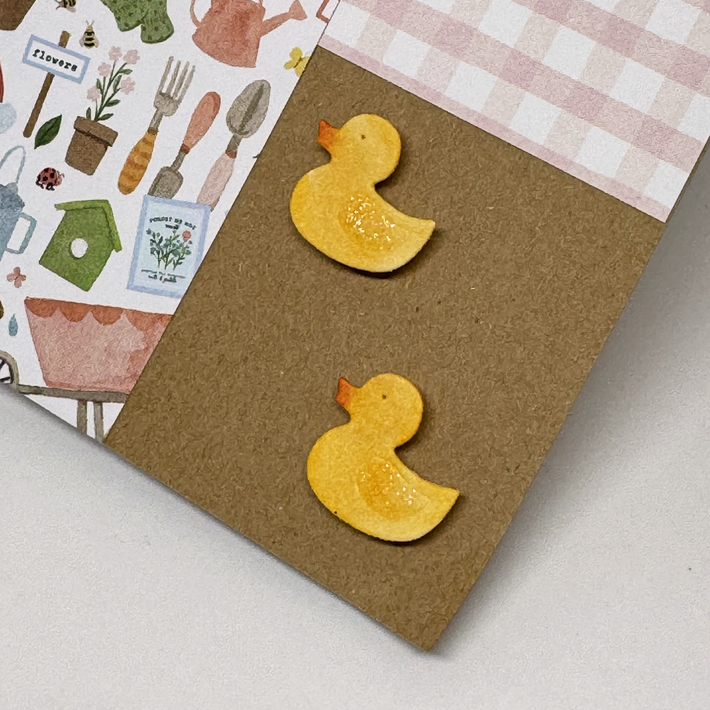
And those ducks – how fun!
Once die cut Deb used Distress Oxide ink, Copic markers and Clear Glitter pen to detail them.
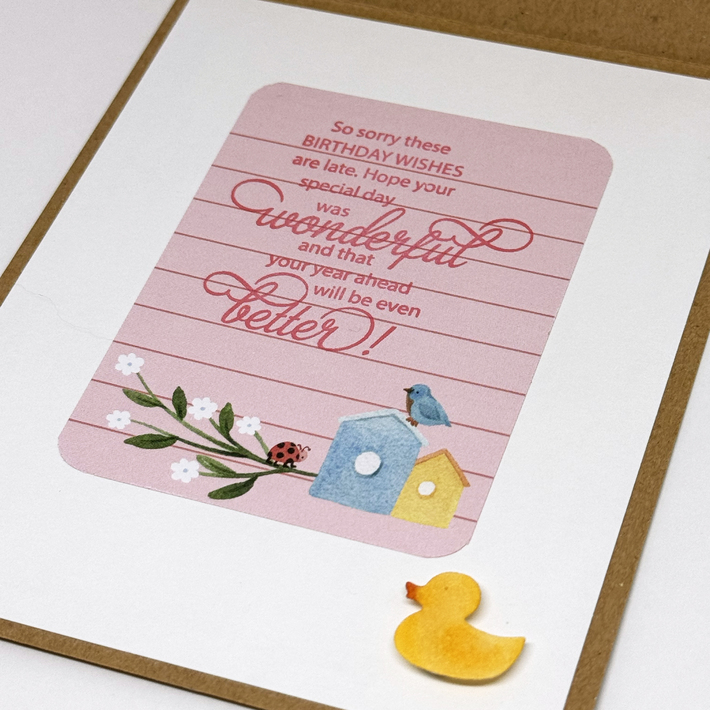
And this beautiful inside sentiment is also from Birthday Sentiments by Stamp Simply Clear Stamps.
It is stamped onto darling paper from My Favorite Spring by Echo Park.
Thanks so much, Deb, for this fun springtime card!
You can find Deb’s post on her blog here.
__________
Products Used
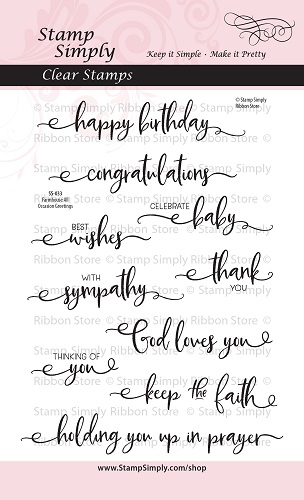
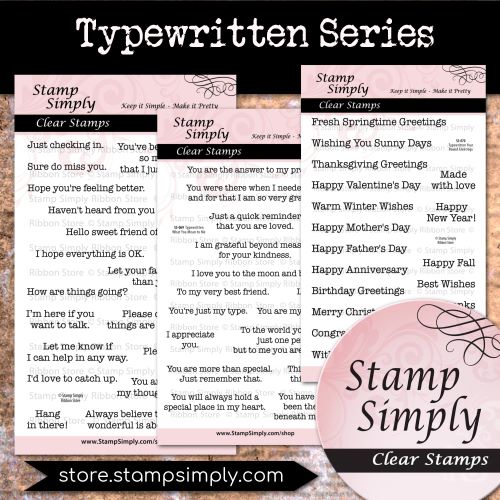
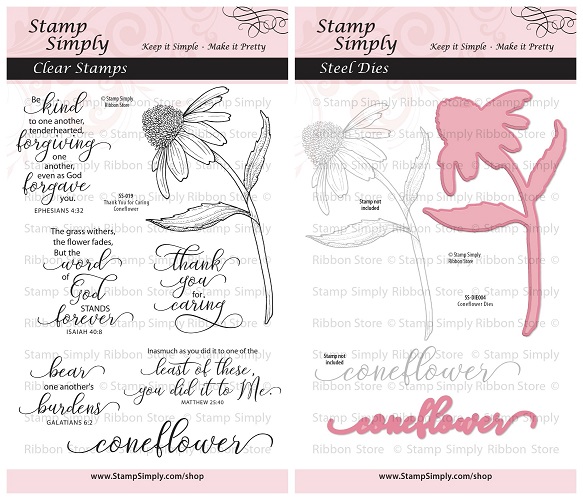
Birthday Sentiments by Stamp Simply Clear Stamps
There are so many useful birthday sentiments in this set – you’ll be grabbing it often!
This set is a companion to the original Birthday Blessings by Stamp Simply Clear Stamps.
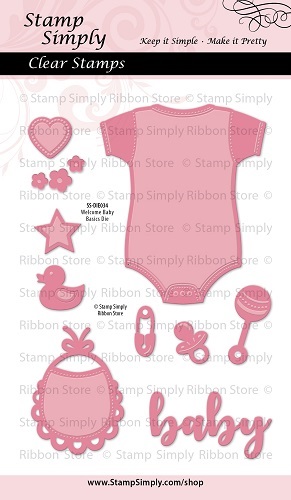
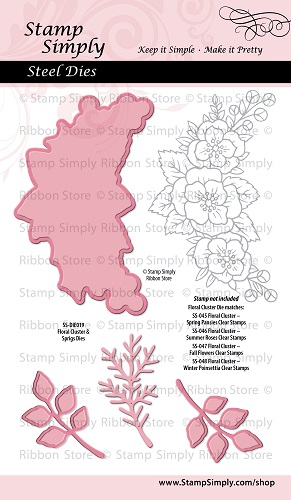
Welcome Baby Basics by Stamp Simply Clear Stamps
This is the die set that coordinates with the 2 stamp sets in our Welcome Baby Series.

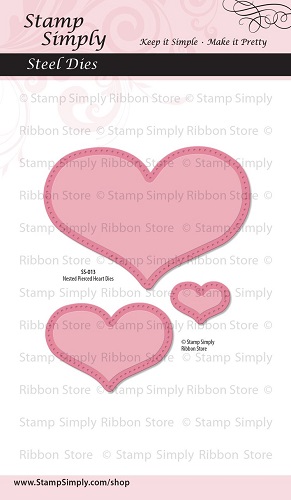
Spellbinders Classic Hearts
6 of these lovely classic hearts are included.
Find all Spellbinders Dies in stock here
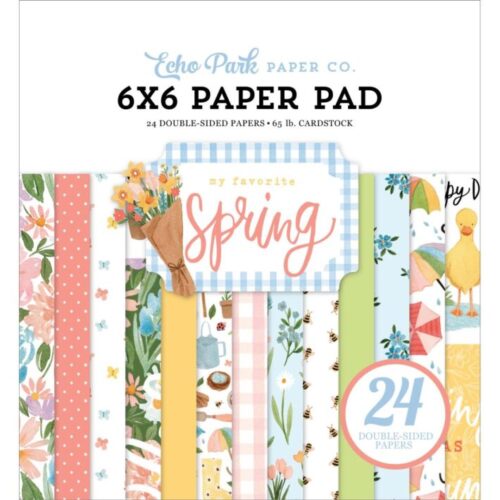
My Favorite Spring by Echo Park
Such a pretty and fun pad for spring and beyond.
Find more fun pads in stock by Echo Park here.
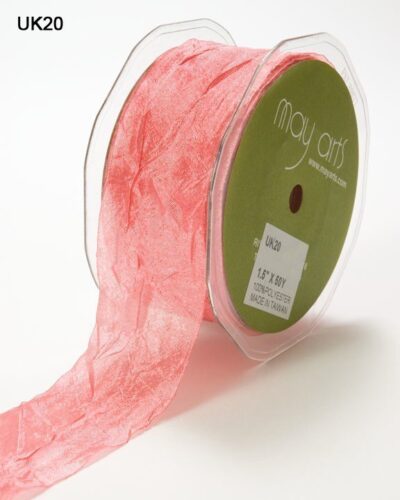
May Arts 1.5″ Silky Crushed – Rose shown and used today
A lovely very lightweight ribbon to add that elegant or vintage look.
Available in a variety of colors.
__________
More Worth Checking Out
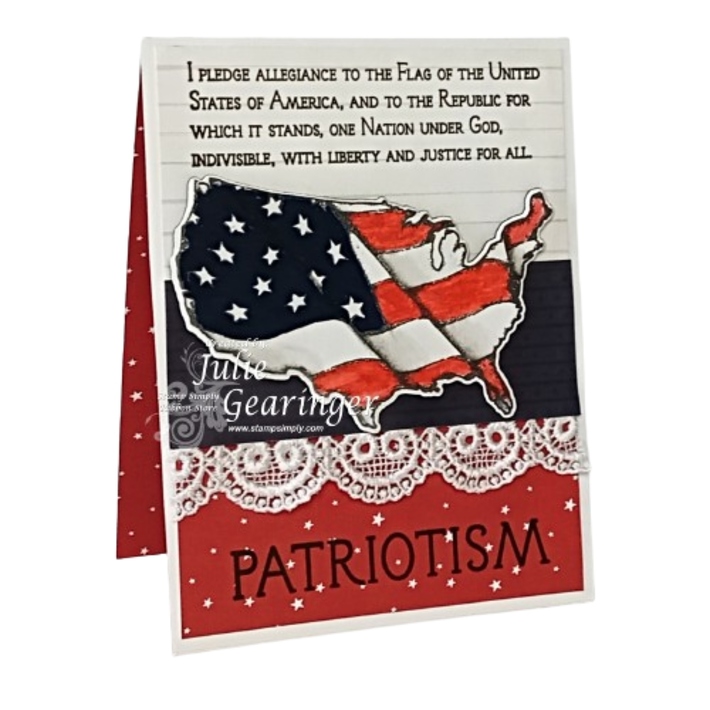
Our Patriotic Series
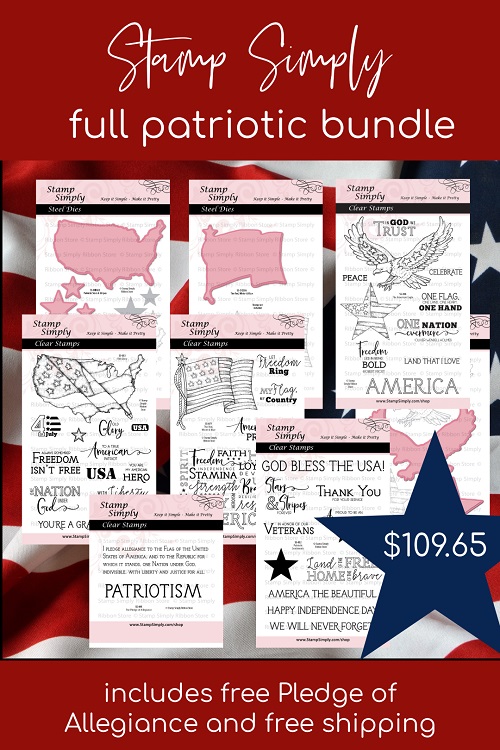
Here is a quick view of our Full Patriotic Bundle.
Each item is also available individually or in a variety of bundled options.
See our complete Patriotic Series here.
_____
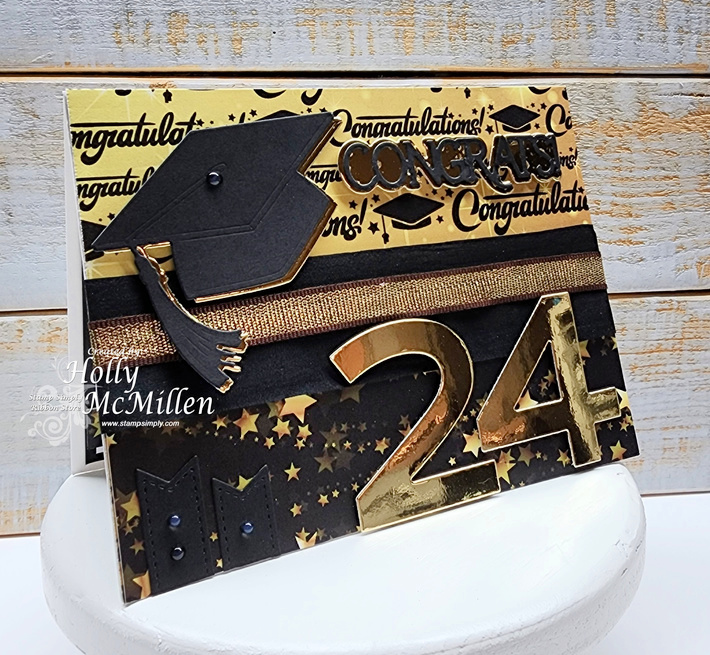
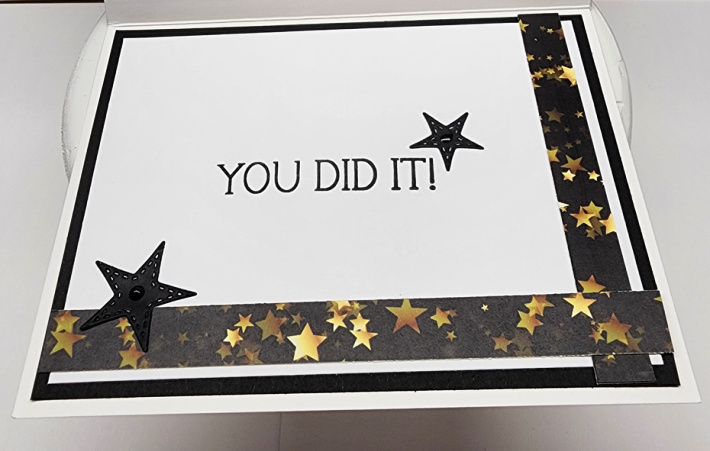
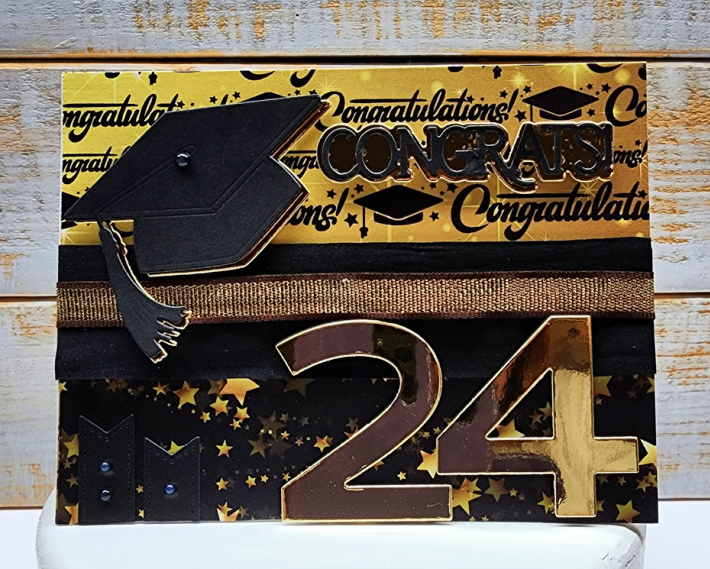
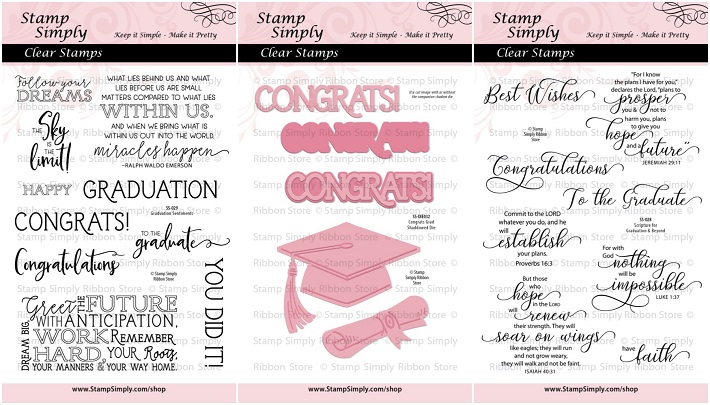
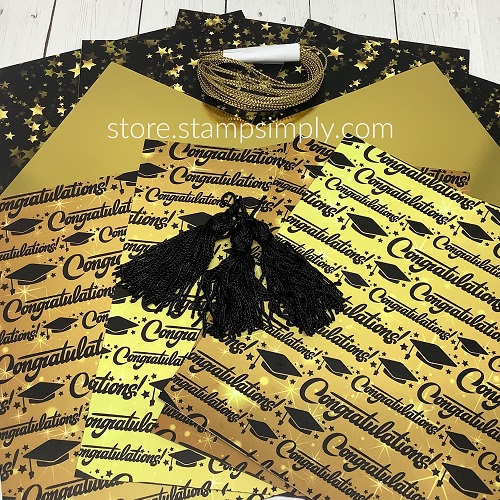
Our Graduation Series
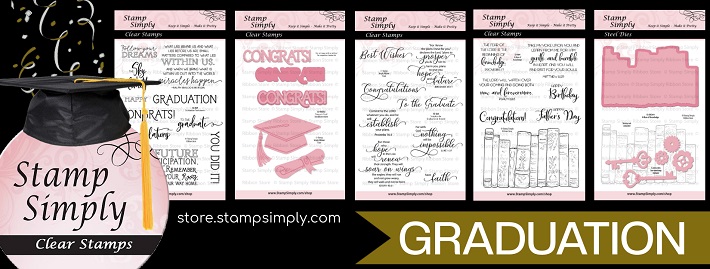
Shop our Graduation Series here – it’s that time of year!
Find all grad paper in stock here.
_____
Free Shipping at $100
(applies automatically – no code needed)
_____
Thanks so very much for stopping in.
We will be back soon with more fun inspiration!