Oct 21 2013
12 Days of a CAS Christmas #9 – Glorious Season by Linda Duke
Yes, Christmas is most definitely a glorious season and Linda certainly created a glorious card to celebrate the event. Her card may look intricate, but all she did was layer two coordinating die sets, using coordinating sheets from a Kaisercraft pad. And, of course, the poinsettia! I do think it would be fair to say that this Design Team LOVES the Layered Poinsettia die!!! Below we have a collage of some of the poinsettias the Design Team has created for the upcoming holiday season. Plus we have a little bonus project from Linda, too, so be sure to scroll all the way down. OK, now back to Linda’s card for today:
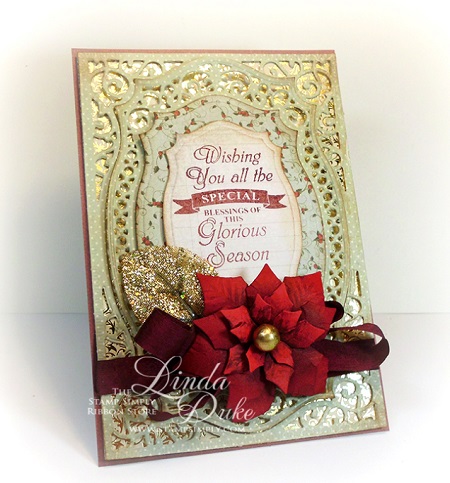
Love, Love, LOVE these lacey, filigree type layers with the gold metallic paper shining from behind! SO gorgeous!
You can see Linda’s post on her blog here.
Linda used:
Stamps: Christmas Labels Twenty, a small clear stamp set by JustRite
Paper: St. Nicholas by Kaisercraft (SU Real Red for poinsettia)
Dies: Spellbinders Labels Twenty-five, Majestic Labels Twenty-five, Layered Poinsettia
Ink: Tim Holtz Distress Inks – Aged Mahogany, Vintage Photo
Ribbon: May Arts 1/2″ Wrinkled Ribbon – Burgundy (available by the yard, full spool and in 1.5″ width as well)
Miscellaneous: 3D Foam Squares – 1/4″; Tombow Mono Multi Liquid Glue
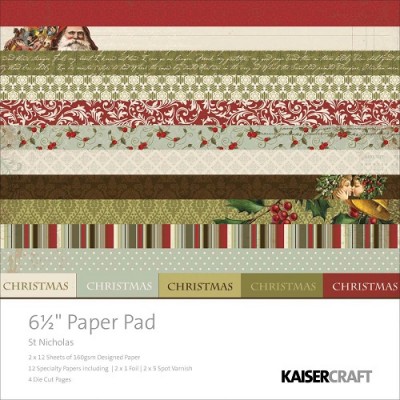
St. Nicholas by Kaisercraft
See the entire St. Nicholas Collection here.
See all items in stock by Kaisercraft here.
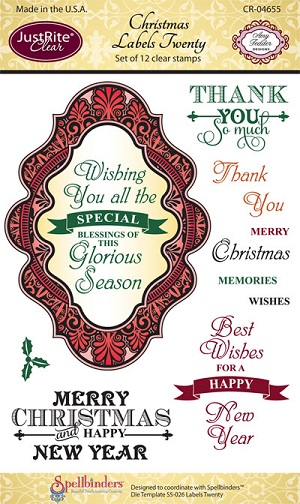
Christmas Labels Twenty a small clear stamp set by JustRite
Not used today, but Labels Twenty die set coordinates with Christmas Labels Twenty.
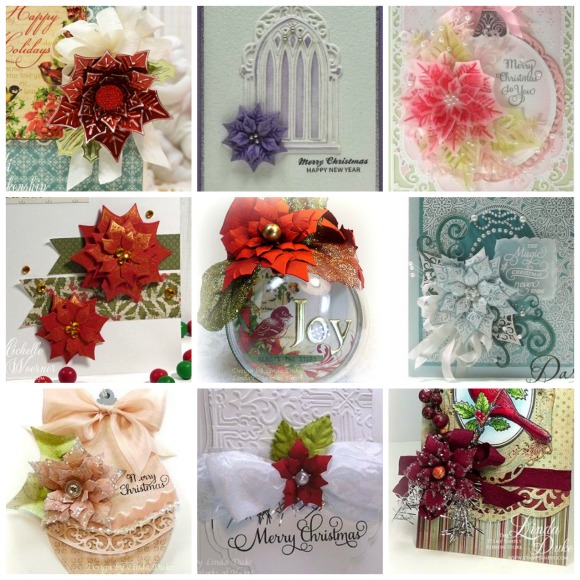
All made with Spellbinders Layered Poinsettia die set
Rather than just show you the die set, I did get these various poinsettias put together into a collage.
These have all been made by our Design Team so far this Christmas crafting season. (And it’s still only October!!!)
If you follow us regularly here, then you’ve seen these already, but it is just fun to compare all the sizes, colors and textures achieved by using the dies with different papers.
I’ll link them all in case you would like a better look – from top left, clockwise:
Heidi Blankenship - find it here – made with Spellbinders Craft Foil
Darsie Bruno – adorning church window – find it here – made from cardstock
Darsie Bruno – find it here – in pink, made from vellum
Darsie Bruno – find it here – white embossed on teal
Linda Duke – find it here – burgundy cardstock (cardinal tag)
Linda Duke – find it here – red cardstock (white Merry Christmas)
Linda Duke – find it here – blush cardstock
Michelle Woerner – find it here – red cardstock with Golden Glitz ink
Center – Linda Duke – ornament — see directly below

Ornament Front
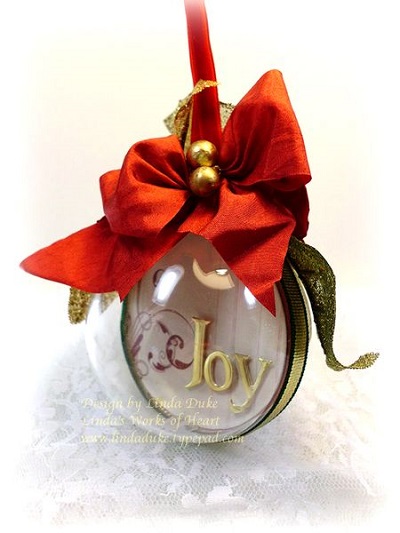
Ornament Back
LOVE this ornament Linda created.
Linda used:
Paper: Vintage Christmas by My Mind’s Eye (see coordinates to the pad here)
Mirror Gold Cardstock and SU Real Red
Dies: Spellbinders Circle Nesties, Layered Poinsettia, Font One Lowercase, Font One Uppercase
Ink: Tim Holtz Distress Ink – Aged Mahogany
Ribbon: May Arts 1.5″ Wrinkled Ribbon – Red (available by the yard, full spool and in 1/2″ width as well);
3/8″ Metallic Solid Edge – Green/gold – this is s lovely, pliable holiday ribbon in a variety of colors
Miscellaneous: 3D Foam Squares – 1/4″; Tombow Mono Multi Liquid Glue
All items available at The Stamp Simply Ribbon Store, as linked.
____________________
Find more gorgeous Design Team projects by scrolling down. The girls have been very, very busy!
ON SALE ~~~ Find Halloween themed items here. ~~~ ON SALE
Find Autumn themed items here.
Find Christmas themed items here.
Check out our Whats New? section to see the latest items added to the store! Theres a LOT!
Check out Specials to see our most recent price markdowns.
Find our Sale Bins here. Who doesnt like a bargain!
Thank you for stopping in and have a wonderful weekend!
Well be back tomorrow morning. Hope to see you then!
No responses yet


